Hello everyone who was waiting a whole week to join our new
Simon Says Stamp Monday Challenge. Here we are then with
BACK TO SCHOOL theme!

As always you can win a $50 voucher and spend it

My card is a special one cause dedicated to my lovely son
who is starting the last grade at the Technology College.
This will be a tough year with the matura exam at the end
and a hard decicion of which high school to go.
Anyway, he's studying cooling technology at an electric college
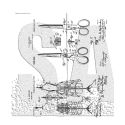
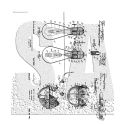
so the Inventor 2 stamp set is just designed for him, don't you think?
The word in the center means: discover...

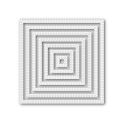
I started with die cutting my lately favorite Mixed Media 6 die set
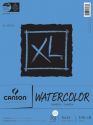
in a watercolor paper with previously stitched the edges.
Since I do not have enough space to store my sewing machine on hand
I take it out sometimes and make lots of stitched card bases for future.
This was the case as well.

Then I just played with touching the base to my craft mate
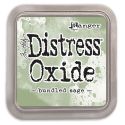
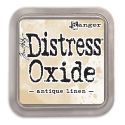
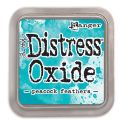
where distress oxide inks and water were applied.

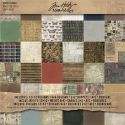
After that I placed my base onto one of a TH Crowded Attic paper
to have some interesting background beneath
and started to stamp and emboss.

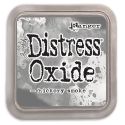
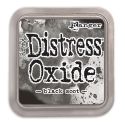
I stamped the bulbs with Distress Oxide Black Soot ink and applied
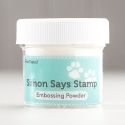
SSS clear embossing powder, heated it up and played again
with oxides to color the background.
Stamped another pair of bulbs, filled the inside with
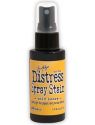
TH Distress Wild Honey spray and fussy cut them
placing one on another with a 3D foam dots.


Products used:
 |  |  |  |  |  |
 |  |  |  |  |  |
 |  |  |  |  |  |