26.08.2019

S is for...


Hi there, ready for a new challenge?


This one is totally awesome and totally up to you!
The theme this week is

"S" IS FOR...

As always you can win a $50 voucher and spend it


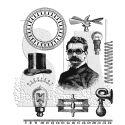
My "S" means STEAMPUNK mainly but also Stencil. 
I made a very tied up card with my fave element: bulb!


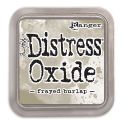
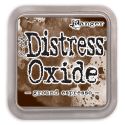
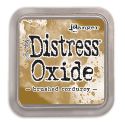
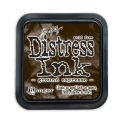
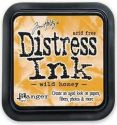
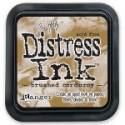
I started with color the background of my main panel with several 
shades of browns and rusty at Distress Oxides and Standard Inks. 

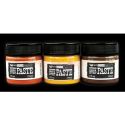
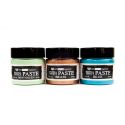
I distressed the edges using the darkest rust effect paste and gave some 
touches of the orange and yellow as well as green and orange waxes. 

I covered some gears and cogs castings with white gesso and then
played with the rusty effect pastes set to give texture and faux rust look.

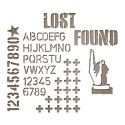
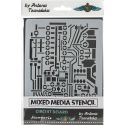
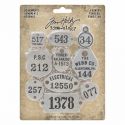
My base was made with Stamperia stencil and black acrylic paint.
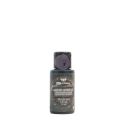
Then I added shades of green using Oxide spray and liquid paint. 


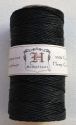
 Made several holes, put the eyelets and passed the cord through them.
Covered the cord with the same rusty effect pastes. 


Products used:


22.08.2019

Electric Garden


Oh no! Not bulbs again! :)
I'm wondering what Freud would say about it...


Anyway, I'm not going to stop using them, lol. 
This one was made for a Birthday of a very talented designer...
To keep it masculine I created an electric garden with bulb-flowers.
Yeah, it can be weird but I hope he likes it.


1. Embossed the background with a stencil.
2. Used the same stencil and a black paint to make the background.
3. Gave a touch of blue and green here and there.
4. Used the flower as leaves, colored it in green and cut out. 


Used Visible Image products:


19.08.2019

ATCs


Hello there! It's a very small challenge this week.
We need to see your ATCs


As always you can win a $50 voucher and spend it


I have to admit it's not my fave size for crafting. 
I definitely need much more space to spread my creative wings 
but it's fun to make such a small projects from time to time. 
It's a kind of beauty in those mini pieces. 


These are the steps I took to make this twin pieces:


1. Mixed white and black acrylic paints to get a nice grey color 
and applied it on the surface randomly using a brayer. Cut to the ATC size.

2. Played with various colors of alcohol inks and used up 
leftovers from cutting out a frame. 

3. Glued them down on the edges making the ATC looks like twins.

4. Die cut words, highlighted the letters' edges and the outer edge of the ATC 
and the inner one where the leftovers ended. 

5. Stamped the same pattern on both pieces.

6. Put a white embossed cardstock beneath the letters.