

Hello everyone and let me welcome to another

This week is all about DISTRESSING which I love a lot.
You can distress the edges with inks or distressing tools,
you can make the projects look older or distress any details on them.
It's up to you.
Remember that there is always a $50 voucher to win
and spend it in the greatest Simon Says Stamp Store!

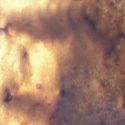
My project for this week is a golden and textured card
which is distressed and turned out into an old thing.
I used a lot of browns and golds to achieve it.
which is distressed and turned out into an old thing.
I used a lot of browns and golds to achieve it.
Let's see below the step-by-step process and feel inspired!

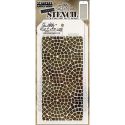
I started with covering my surface with texture paste
through one of my newest and favorite stencil - Mosaic by Tim Holtz.
Unfortunately my card is 6x6'' and the stencil is arrower
so I decided to make the joining line in the center
and then cover it with my embellishments.
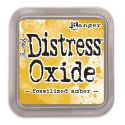
When the paste was almost dry I covered the surface
with brown and yellow Distress Oxides and a Lindy's Brown spray.
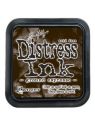
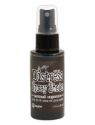
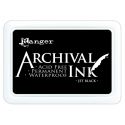
After that I distressed the edges with Ground Espresso Distress ink.
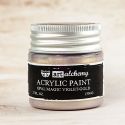
I covered all the card with a solid touch of Opal Magic Violet-Gold.

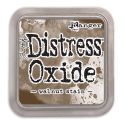
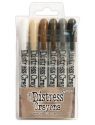
I also marked the edges with Walnut Stain Distress Crayon
and made some splashes with Ground Espresso Spray.
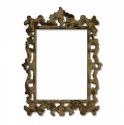
I cut out the Frame Ornate #2 from a heavy cardboard,
colored with Ground Espresso Distress Ink
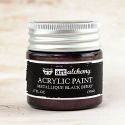
and covered with Metallique Blackberry Paint.
colored with Ground Espresso Distress Ink
and covered with Metallique Blackberry Paint.
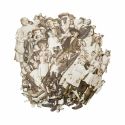
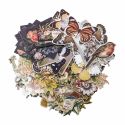
I took my Paper Dolls and distress all the edges with Ground Espresso.
I randomly tied a twine using the holes in the frame.


Products used:
 |  |  |  |  |  |
 |  |  |  |  |  |
 |  |  |  |  |  |


